5 Tips To Keeping Pavers Clean
Pavers get dirty fast! Five practical tips to keep your pavers looking clean for longer — and what actually causes the green.
Why are my pavers turning green?
Green discoloration on pavers is a common issue, particularly in outdoor areas with high levels of moisture and shade. The green tint is usually algae, moss, or mildew growing on the surface of the pavers — organisms that thrive in damp, shaded environments.
Factors that contribute to green pavers:
- Moisture — the number one culprit behind dirty, sunken and shifting pavers. Excess moisture from rain, sprinklers or improper drainage creates the perfect environment for growth.
- Shade — a lack of direct sunlight keeps pavers from fully drying out.
- Organic debris — leaves, dirt, and other material provide nutrients for algae and moss.
- Poor air circulation — still, damp corners retain moisture the longest.
- Poor drainage — poorly pitched or sunken pavers pool moisture, guaranteeing algae growth and premature failure of joint sand.
What can I do to prevent algae, moss and mold?
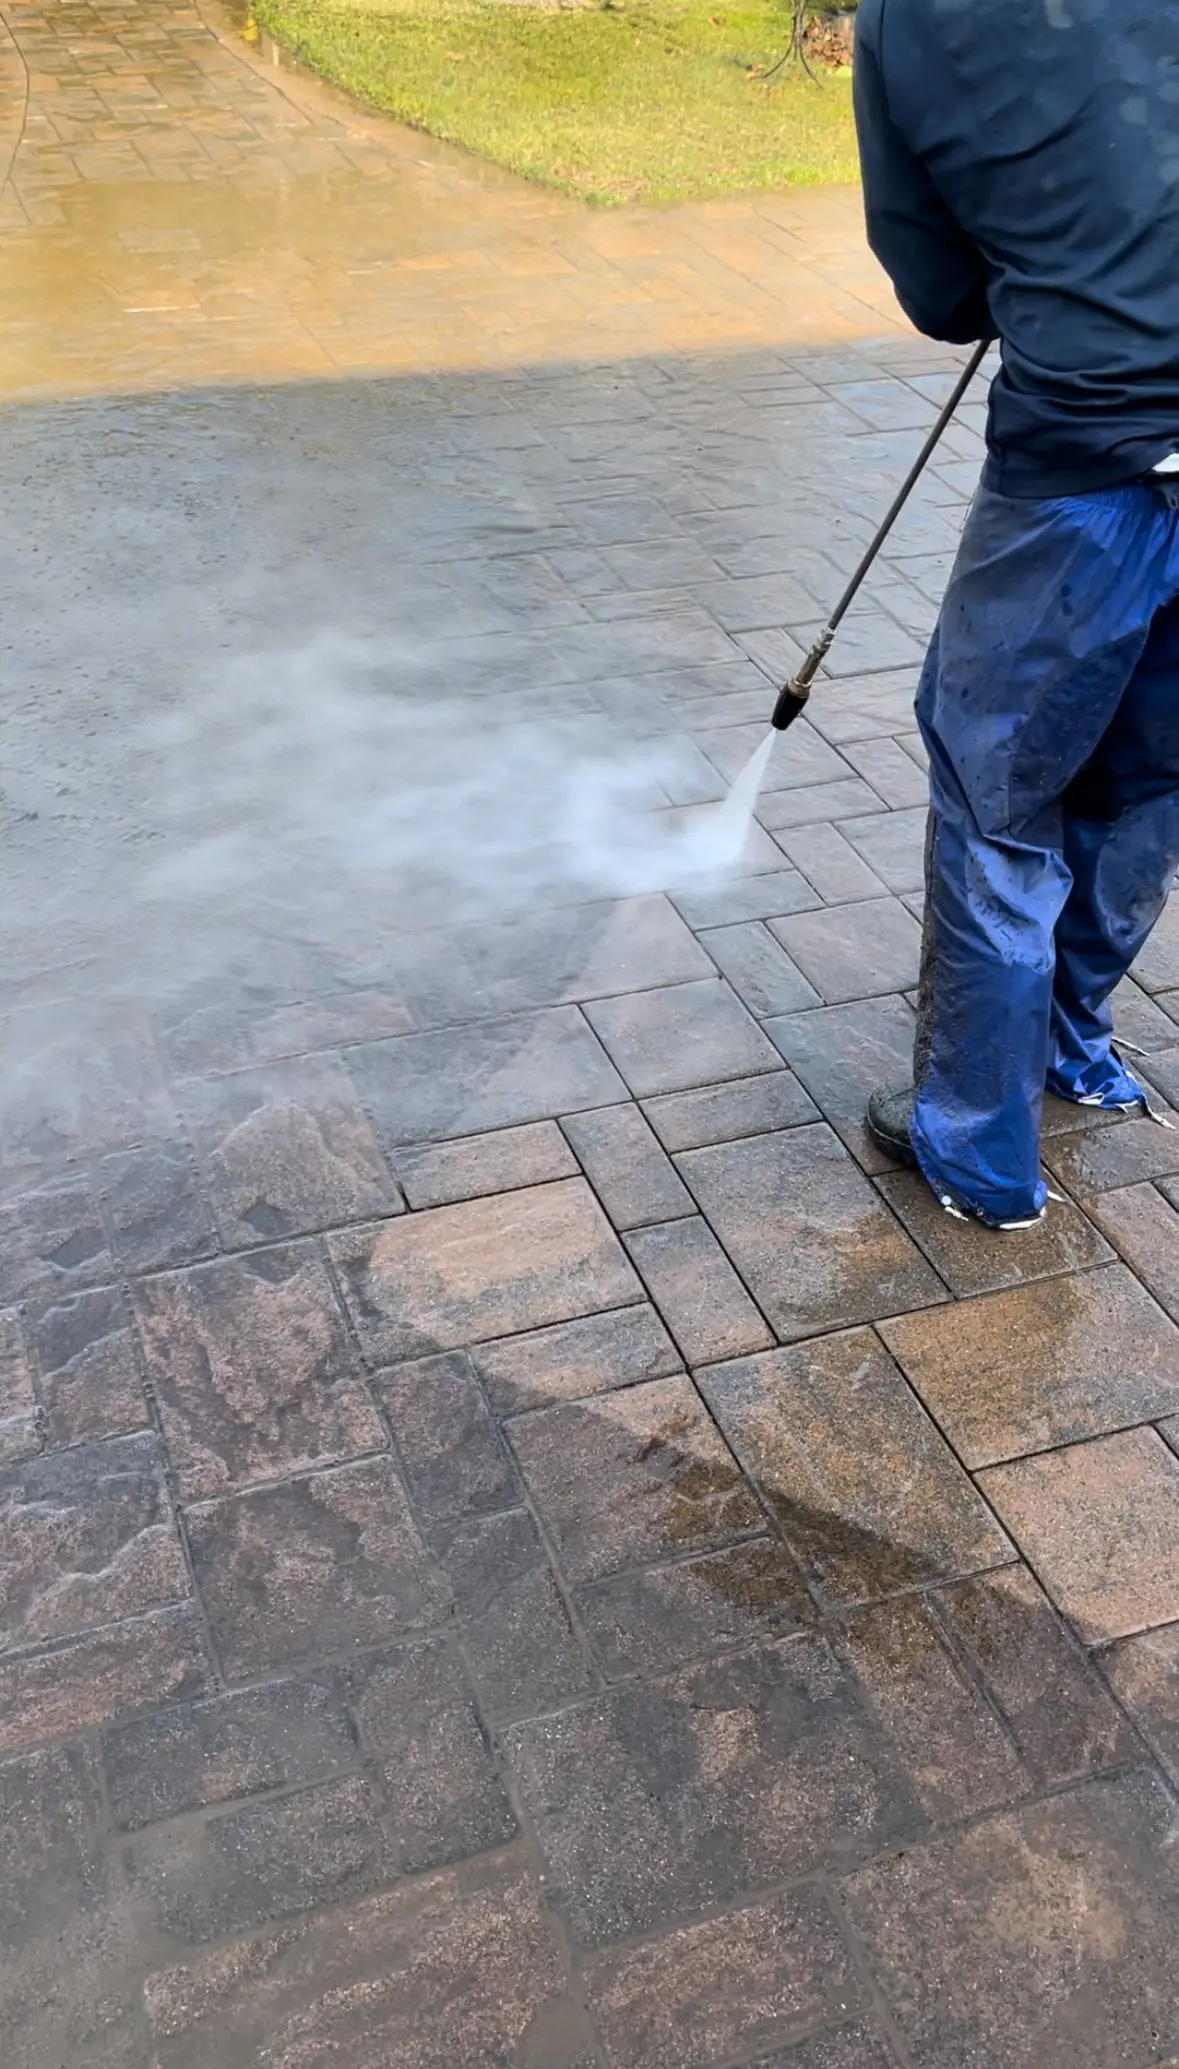
- Regular cleaning. A yearly soft wash treatment with a mild detergent kills algae, moss and mildew, with pressure washing reserved for stubborn stains.
- Preventive maintenance. Trim overhanging branches to let in sunlight, adjust sprinklers so stone isn’t wet daily, and edge grass and beds lining the pavers.
- Proper drainage. Make sure water drains away from the pavers. Drains, dry wells, and lowering surrounding beds all stop pooling.
- Polymeric sanding. Replacing failing polymeric sand stabilizes pavers, slows drainage into the joints, and wards off weeds.
- Sealing. A high-quality sealer enhances color, hardens joints, reduces water penetration, inhibits growth, and protects against staining and UV damage. This step is best left to professionals.
The pros and cons of DIY paver restoration
Paver cleaning and joint sanding can be a long and arduous endeavor if you want professional results. Large patios can take two to three days of hard physical work — and inexperienced sanding jobs often sweep out the polymers or leave sand too high in the joints, compromising the life of the joint entirely.
Where DIY makes sense: cost savings, control over the process, flexibility, and the satisfaction of doing it yourself on a small area.
Where it doesn’t: projects larger than about 500 square feet, heavily soiled stone, or any patio you intend to seal. Without commercial machinery, the result is rarely professional quality — and mistakes like polymeric haze are semi-permanent.
The three-step professional restoration
- Pressure washing removes dirt, old joint sand, grime and stains, rejuvenating the stone. Soft washing afterward eliminates the unseen organic growth pressure alone leaves behind.
- Polymeric sand installation fills the joints, stabilizes the surface, prevents shifting, and blocks weeds — when installed correctly.
- Sealing brings it all together: stain protection, color enhancement, hardened joints, and a finish that makes routine cleaning easy.
At MSM Surface Pro we understand the satisfaction of DIY projects. Whether you choose to DIY or not, you can trust us to help you achieve professional results — even if your DIY doesn’t go as planned.